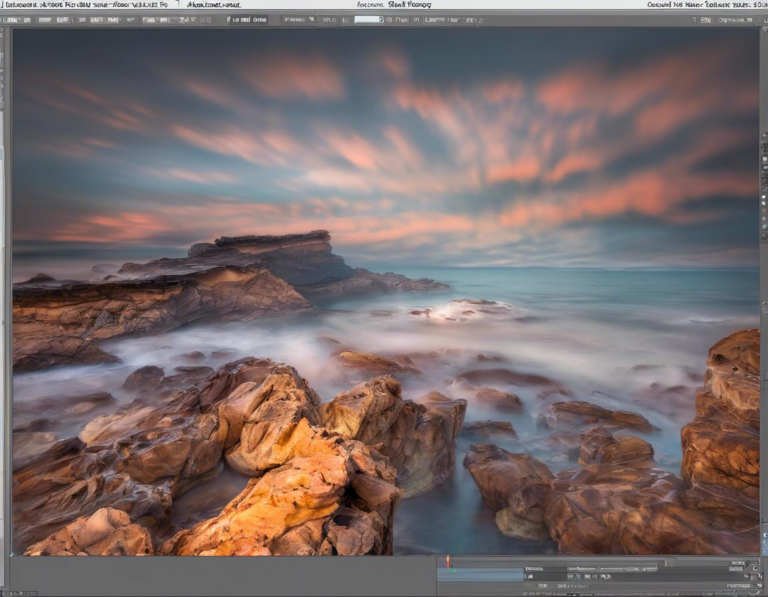
Adobe Photoshop Tips for Professional Photographers
Introduction: Mastering Photoshop for Professional Photography

Photoshop is an indispensable tool for any professional photographer. It allows you to enhance your images, correct imperfections, and create stunning visuals that captivate your audience. While the software itself offers endless possibilities, knowing which techniques to employ can make all the difference. This article will delve into essential Photoshop tips tailored specifically for professional photographers, helping you elevate your workflow and produce exceptional results.
Image Preparation: Setting the Stage for Success

1. Working with Raw Files:
Professional photographers often shoot in RAW format, which provides the maximum amount of data from your camera sensor. Photoshop’s Camera Raw filter is your best friend for initial adjustments. Here’s how to make the most of it:
- Exposure and Contrast: Fine-tune these settings to bring out the details in your image, especially in highlights and shadows.
- White Balance: Adjust the color temperature to achieve a natural and balanced look, eliminating unwanted color casts.
- Sharpening: Apply subtle sharpening to enhance details, but be careful not to overdo it, as it can create unwanted artifacts.
- Lens Corrections: Address distortion and vignetting caused by your lens to create a more pleasing and professional look.
2. Color Management:
Consistency in color is crucial for professional work. Photoshop offers powerful color management tools:
- ICC Profiles: Ensure all your images and devices use the same color profile for accurate representation.
- Soft Proofing: Preview how your images will look when printed or displayed on different devices.
- Color Adjustments: Use tools like Levels, Curves, and Hue/Saturation to fine-tune the colors in your images.
Essential Retouching Techniques:

3. Spot Healing and Clone Stamp:
These tools are your go-to for removing blemishes, dust spots, and other minor imperfections.
- Spot Healing Brush: Automatically blends surrounding pixels to seamlessly remove imperfections.
- Clone Stamp: Copies pixels from one area to another, allowing you to replace unwanted elements.
Pro Tip: Use a small brush size and low opacity for more precise control.
4. Frequency Separation for Skin Retouching:
This advanced technique separates the image into two layers, allowing you to smooth skin tones without losing detail.
- High-Frequency Layer: Contains the detail information, like pores and wrinkles.
- Low-Frequency Layer: Contains the tonal information, like skin color.
Use the Gaussian Blur filter on the low-frequency layer to smooth out skin imperfections and then blend the two layers back together.
5. Dodge and Burn for Subtle Enhancement:
These tools allow you to selectively lighten or darken areas of your image.
- Dodge: Lightens areas to highlight details.
- Burn: Darkens areas to add depth and shadows.
Pro Tip: Use a low opacity to avoid harsh transitions and a large brush size for subtle adjustments.
Advanced Image Manipulation for Creative Expression

6. Content-Aware Fill for Seamless Removal:
This powerful tool allows you to remove unwanted objects from your image while seamlessly blending the surrounding area. Simply select the area you want to remove and apply the Content-Aware Fill.
7. Layers and Masks for Creative Control:
Layers and masks are essential for non-destructive editing, allowing you to work with multiple adjustments and effects without permanently altering your original image.
- Layers: Stack multiple images or adjustments on top of each other for more complex edits.
- Masks: Apply edits to specific areas of your image without affecting the rest.
8. Actions and Presets for Workflow Efficiency:
Save time and streamline your workflow by creating custom actions and presets.
- Actions: Record a series of steps that you can replay automatically on different images.
- Presets: Save settings for frequently used adjustments, such as color grading and sharpening.
Beyond Retouching: Creative Effects and Compositing

9. Blending Modes for Creative Effects:
Photoshop offers a wide range of blending modes that allow you to combine images and layers in unique ways.
- Overlay: Creates a more vibrant and saturated image.
- Soft Light: Adds a subtle glow or shadow effect.
- Multiply: Creates a darker and more dramatic effect.
10. Filters for Artistic Expression:
Photoshop includes an extensive library of filters that can add artistic effects to your images.
- Sharpen: Enhances details and creates a more defined look.
- Blur: Creates a softer and more dreamy effect.
- Artistic: Transforms your images into paintings, sketches, or other artistic styles.
11. Compositing for Creating Unique Scenes:
Combine multiple images to create a cohesive and compelling scene.
- Cut Out Objects: Use tools like the Pen Tool and Quick Selection Tool to isolate objects and place them in new environments.
- Blend Images: Use masks and blending modes to seamlessly blend multiple images together.
- Adjust Lighting and Color: Use adjustments like Levels and Curves to ensure that the images have a consistent look and feel.
Exporting and Sharpening for Final Delivery:

12. Understanding Resolution and File Types:
- Resolution: Choose the appropriate resolution for your intended use (print vs. web).
- File Type: Select the appropriate file type based on your needs (JPEG for web, TIFF for print).
13. Unsharp Mask for Final Sharpening:
Apply the Unsharp Mask filter to your image for a final sharpening pass before exporting.
- Amount: Controls the strength of the sharpening.
- Radius: Determines the size of the area being sharpened.
- Threshold: Controls how much detail is sharpened.
Pro Tip: Adjust these settings based on the image’s content and intended use.
Conclusion: The Power of Photoshop in Your Hands
Adobe Photoshop offers an unparalleled level of control and flexibility for professional photographers. By understanding and mastering the tips outlined in this article, you can elevate your workflow, enhance your images, and unleash your creative potential. Remember, practice and experimentation are key to becoming proficient in Photoshop. As you explore its vast capabilities, you’ll discover new techniques and workflows that will help you consistently produce exceptional results.

