
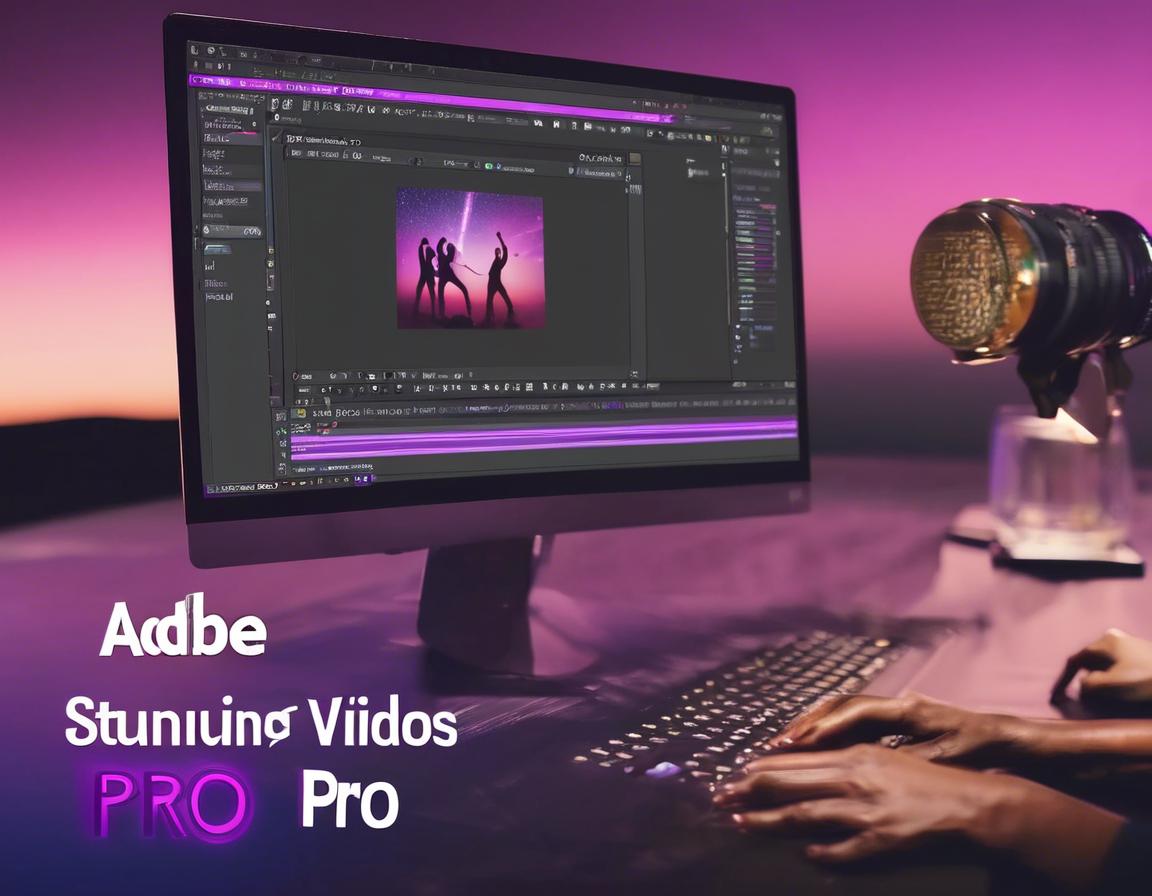
Creating Stunning Videos with Adobe Premiere Pro
Adobe Premiere Pro is a powerful video editing software used by professionals and enthusiasts alike. It offers a wide range of features and tools to help you create high-quality videos for various purposes, from YouTube vlogs to professional films. This article will guide you through the process of creating stunning videos using Premiere Pro, covering everything from basic editing techniques to advanced features and workflow tips.
Getting Started with Adobe Premiere Pro
Before diving into the world of video editing, let’s set up your Premiere Pro workspace. You can download a free trial of Premiere Pro from the Adobe website. Once installed, launch the software and familiarize yourself with the interface.
1. Understanding the Premiere Pro Interface:
Premiere Pro features a user-friendly interface designed to streamline your workflow. Key elements include:
- Project Panel: This panel is where you manage your project files, including footage, audio, and graphics.
- Timeline Panel: The heart of video editing, the timeline allows you to arrange and edit your clips in sequence.
- Source Monitor: This panel displays the raw footage you’re currently working with.
- Program Monitor: This panel displays the final output of your edited video.
2. Creating a New Project:
Begin by creating a new project in Premiere Pro. This will set up the project settings, such as resolution, frame rate, and audio channels. You can choose from various presets based on your video’s intended format and platform.
Importing and Organizing Your Footage
Once you have your Premiere Pro project set up, it’s time to import your footage. Premiere Pro supports a wide range of video formats, including MP4, MOV, AVI, and more.
1. Importing Your Media:
Import your video files into the project panel by dragging and dropping them or using the “File > Import” option. You can also import audio files, images, and other multimedia elements.
2. Organizing Your Files:
As your project grows, maintaining organized files is crucial. Use the “Create Bin” option in the project panel to group similar files together, like “Footage,” “Audio,” or “Graphics.” This makes it easier to locate specific files during the editing process.
Basic Editing Techniques: Cutting, Trimming, and Transitions
Now that your footage is imported and organized, you can start editing. Here are some basic techniques to get you started:
1. Cutting and Trimming:
Use the razor tool to cut clips into segments. You can then trim the unwanted portions of your clips using the trim handles in the timeline panel.
2. Adding Transitions:
Transitions are effects that smoothly link different clips together. Premiere Pro offers various transition options, including cross-dissolves, fades, and wipes. Drag and drop a transition effect from the effects panel to the timeline, where you want it to be applied.
3. Adjusting Clip Speed:
You can adjust the speed of your video clips to create various effects, like slow-motion or fast-motion. Use the “Speed/Duration” option in the timeline panel to change the speed of individual clips.
Enhancing Your Video with Audio and Effects
Audio plays a crucial role in creating an engaging and immersive video. Premiere Pro allows you to edit and enhance your audio, as well as add various visual effects.
1. Audio Editing:
Premiere Pro offers a robust audio editing suite. You can:
- Adjust Audio Levels: Use the audio mixer to adjust the volume of your audio tracks.
- Add Audio Effects: Apply effects like equalization (EQ) and compression to enhance your audio quality.
- Import Music: Add background music from your library or royalty-free websites.
2. Visual Effects:
Premiere Pro includes a comprehensive library of visual effects, including:
- Color Correction: Adjust the color, contrast, and brightness of your footage.
- Motion Graphics: Create animated titles, graphics, and transitions using After Effects templates.
- Keying: Remove unwanted objects from your footage using techniques like green screen.
Mastering Your Video for Different Platforms
Once your video is edited and enhanced, it’s time to prepare it for distribution. Premiere Pro offers a range of export options for various platforms and formats.
1. Choosing the Right Export Format:
Premiere Pro allows you to export your video in different formats, such as MP4, MOV, AVI, and more. The choice of format depends on your video’s intended platform and distribution method. For example, YouTube requires a specific MP4 format.
2. Setting the Right Export Settings:
The export settings control various aspects of your video output, such as resolution, bitrate, and frame rate. Choose settings that balance file size and quality for your target audience and platform.
3. Optimizing for Specific Platforms:
Premiere Pro offers presets for popular video platforms like YouTube and Vimeo, ensuring your video meets their specific requirements. These presets adjust the export settings for optimal playback on those platforms.
Advanced Techniques and Workflow Tips
To further enhance your video editing skills, explore these advanced techniques and workflow tips:
1. Working with Color Grading:
Color grading is the process of adjusting the overall color and mood of your video. Premiere Pro’s Lumetri Color panel provides extensive tools for color correction, grading, and creative looks.
2. Utilizing Templates and Plugins:
Save time and create professional-looking videos by leveraging templates and plugins. Premiere Pro offers a wide range of templates for titles, transitions, and other elements. You can also explore third-party plugins for more specialized effects and features.
3. Optimizing Workflow Efficiency:
To work efficiently in Premiere Pro, adopt these practices:
- Keyboard Shortcuts: Learn and use keyboard shortcuts to navigate and edit quickly.
- Project Organization: Keep your project files well-organized and labeled.
- Backup Regularly: Back up your project files frequently to avoid losing data.
Conclusion: Create Your Own Stunning Videos
Adobe Premiere Pro is a powerful tool that empowers you to create professional-quality videos. By mastering the basic and advanced techniques discussed in this article, you’ll be equipped to unleash your creativity and produce stunning videos for various platforms and purposes. Remember to practice consistently, experiment with different features, and explore the vast resources available online to enhance your video editing skills.