
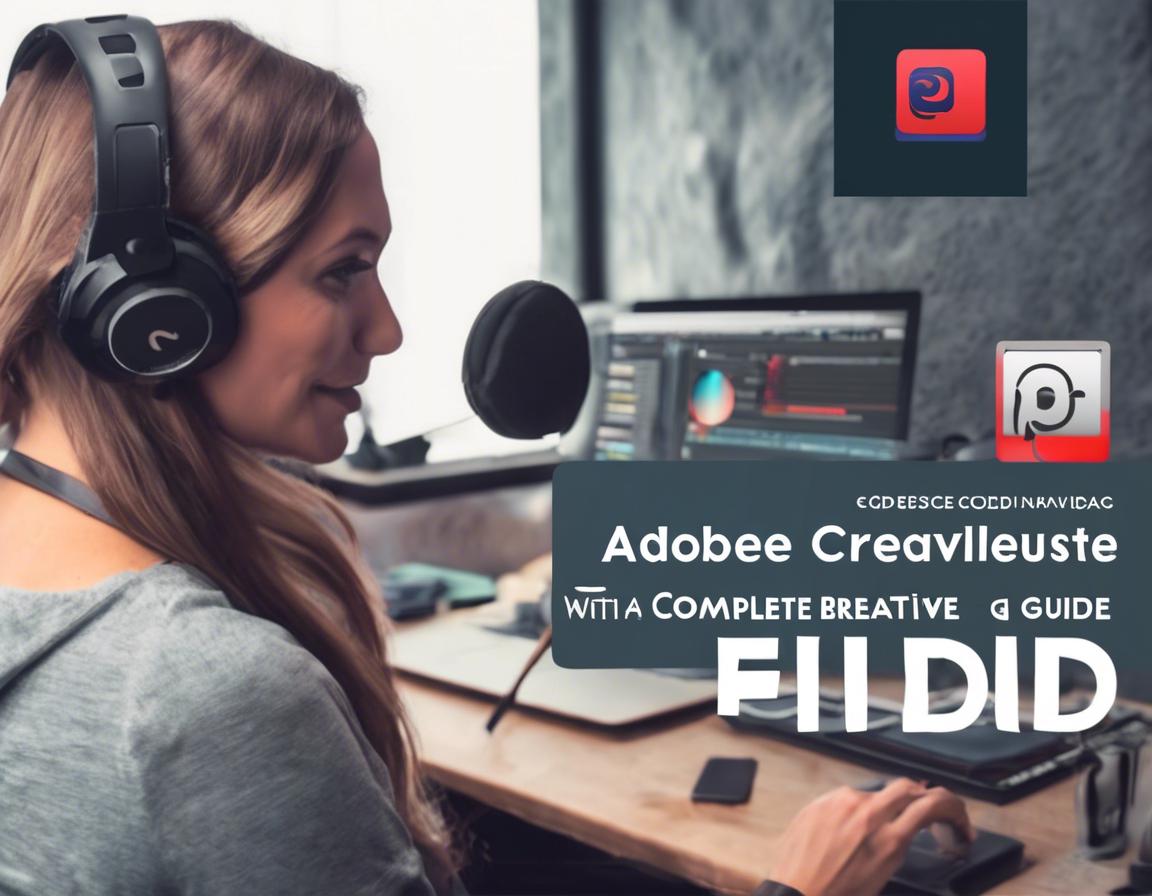
Editing Podcasts with Adobe Creative Cloud: A Complete Guide
Creating a podcast is only half the battle. You need to edit it, polish it, and make it sound professional before you can share it with the world. And if you’re looking for a powerful and versatile editing suite, Adobe Creative Cloud is a fantastic option.
This comprehensive guide will walk you through everything you need to know about editing podcasts with Adobe Creative Cloud, from basic editing techniques to advanced audio effects.
Why Choose Adobe Creative Cloud for Podcast Editing?
Adobe Creative Cloud offers a robust suite of tools specifically designed for audio editing, making it a popular choice for podcasters of all levels. Here are just a few reasons why:
- Comprehensive Features: Adobe Audition boasts a wide range of features for cleaning up audio, adding effects, and mastering your podcast.
- Intuitive Interface: While powerful, Adobe Audition offers a user-friendly interface that’s relatively easy to learn, even for beginners.
- Integration with Other Adobe Apps: If you’re already using other Adobe products like Premiere Pro or Photoshop, you’ll appreciate the seamless integration and shared workflows.
- Industry-Standard Software: Adobe Audition is used by professionals worldwide, ensuring compatibility with other industry tools and standards.
Getting Started with Adobe Audition
Before diving into the editing process, let’s set up your Adobe Audition workspace:
- Install Adobe Audition: If you don’t have Adobe Creative Cloud, you can purchase a subscription or start a free trial.
- Import Your Audio: Once installed, open Adobe Audition and drag your recorded podcast audio files into the workspace.
- Create a New Session: Adobe Audition will automatically create a new session with your audio files. You can adjust the settings as needed for your specific podcast format.
Essential Audio Editing Techniques
Now let’s explore the core editing techniques you’ll need to create a polished podcast:
1. Noise Reduction and Cleaning
- Identify Noise: Listen carefully to your audio to identify any unwanted noise, such as background hum, static, or wind.
- Use Noise Reduction Tools: Adobe Audition provides several noise reduction tools:
- “Noise Reduction/Restoration” effect: This tool automatically analyzes your audio and removes unwanted noise.
- “Spectral Noise Reduction” effect: Offers more granular control to target specific noise frequencies.
- Experiment with Settings: Fine-tune the noise reduction settings to achieve the best results without compromising the natural sound of your podcast.
2. Trimming and Cutting
- Selection Tools: Use the selection tools to precisely select the audio segments you want to trim or cut.
- “Cut” and “Paste” Commands: Remove unwanted parts by using the “Cut” command and then use “Paste” to insert the remaining audio back together seamlessly.
- “Fade In/Out” Effects: Use these effects to smoothly transition between audio segments, avoiding abrupt cuts.
3. Leveling and Normalizing
- Equalizer: Adjust the frequency balance of your podcast to enhance clarity and remove unwanted frequencies.
- Compressor: Control the dynamic range of your audio, reducing volume peaks and boosting quiet sections for a consistent volume.
- Normalizer: Ensure your podcast is mastered to a specific volume level, making it consistent across platforms.
Enhancing Your Podcast with Audio Effects
Beyond basic editing, Adobe Audition provides a wealth of audio effects to enhance your podcast and make it more engaging:
1. Adding Music and Sound Effects
- Import Audio Files: Import music tracks, sound effects, or royalty-free audio from online libraries.
- Place and Edit: Drag and drop these audio elements into your podcast timeline. Trim and edit them as needed to fit the rhythm of your content.
- Sound Effects Libraries: Adobe Audition offers built-in sound effects libraries, and you can also explore online resources like FreeSound or AudioJungle for more options.
2. Voiceover and Dialogue Enhancements
- Reverb: Add realistic room ambiance to your voice recordings for a more immersive listening experience.
- Equalizer: Adjust vocal frequencies to enhance clarity and remove sibilance (hissing sounds).
- De-esser: Target specific frequencies to reduce excessive sibilance in your recordings.
3. Creating Audio Transitions
- Crossfades: Smoothly blend two audio segments together by overlapping them slightly and gradually reducing the volume of one while increasing the volume of the other.
- Sound Effects: Use sound effects like whooshes, sound bumps, or fades to create engaging transitions between different sections of your podcast.
Mastering Your Podcast in Adobe Audition
Once your editing is complete, it’s time to master your podcast. Mastering involves final adjustments to the audio to create a polished and professional sound.
1. Setting the Volume Level
- Normalize: Ensure your podcast has a consistent volume across different platforms.
- Loudness Meter: Use Adobe Audition’s loudness meter to measure your podcast’s loudness and adjust it to a target level.
2. EQ and Compression
- Equalizer: Make subtle adjustments to the frequency balance to ensure your podcast sounds clear and balanced.
- Compressor: Apply a gentle compressor to smooth out volume fluctuations and make the overall audio sound more consistent.
3. Exporting Your Podcast
- Choose the Right Format: Select the appropriate format for your podcast, such as MP3 or AAC.
- Set Bitrate: Adjust the bitrate to balance file size and audio quality.
- Metadata: Add essential metadata, such as title, description, and episode number, to ensure your podcast is properly indexed and displayed on podcast platforms.
Tips and Tricks for Effective Podcast Editing
- Use Headphones: Invest in a good pair of headphones to accurately hear your audio during the editing process.
- Listen on Different Devices: Check how your podcast sounds on various devices to ensure consistency across platforms.
- Take Breaks: Editing audio can be tedious, so take breaks to avoid fatigue and maintain a fresh perspective.
- Learn From Other Podcasters: Explore podcasts you enjoy and analyze their editing techniques to learn new tricks and improve your own skills.
Conclusion
Editing a podcast with Adobe Creative Cloud can be a rewarding experience. This comprehensive guide has equipped you with the tools and techniques you need to take your podcast from raw recordings to a polished and professional product. Remember to experiment with different editing techniques and keep learning to continually improve your audio editing skills. With a bit of practice and creativity, you can create a podcast that sounds as good as it looks!