
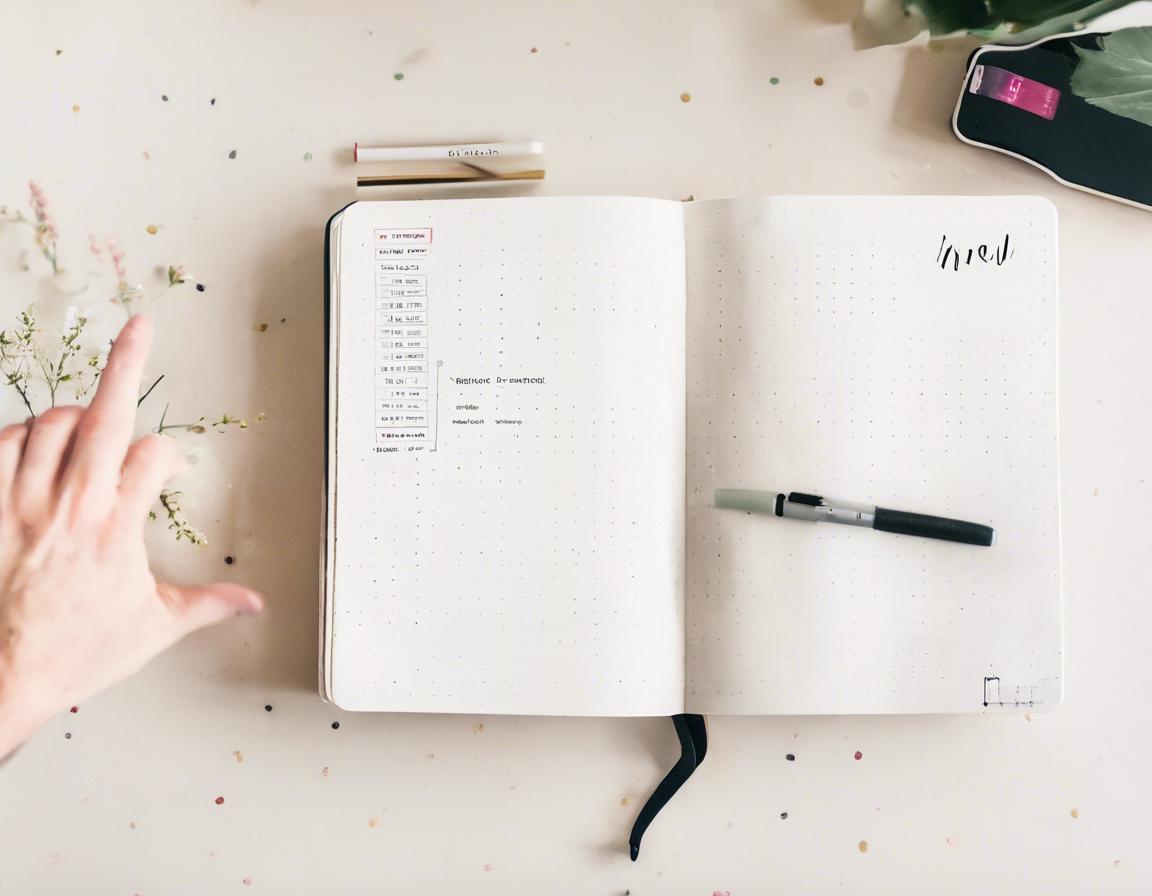
How to Set Up a Bullet Journal in Notion
Are you looking for a digital way to organize your life? If you’re a fan of bullet journaling but want to ditch the paper and pen, Notion is the perfect platform. With its flexibility and customization options, Notion allows you to create a digital bullet journal that fits your needs perfectly.
In this article, we’ll guide you through setting up a Notion bullet journal, from creating basic templates to customizing them with your favorite features. Let’s dive in!
1. Create a Dedicated Notion Workspace
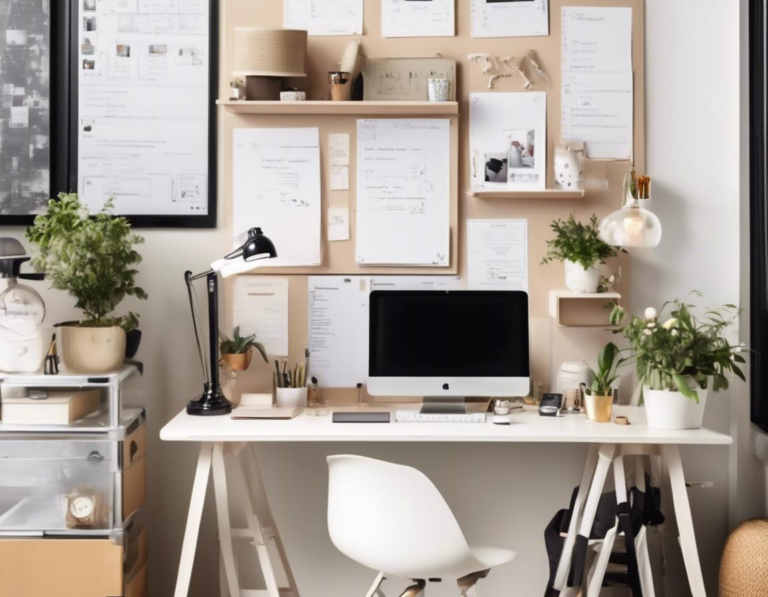
First things first, you need to create a dedicated workspace in Notion for your bullet journal. This will help keep everything organized and easily accessible.
- Create a new page: Open Notion and click on the “New page” button.
- Name it “Bullet Journal”: Give your workspace a clear name like “Bullet Journal,” “Digital Planner,” or something else that resonates with you.
- Customize the workspace: You can add a cover image, change the background color, or even use a custom template to start with a pre-designed layout.
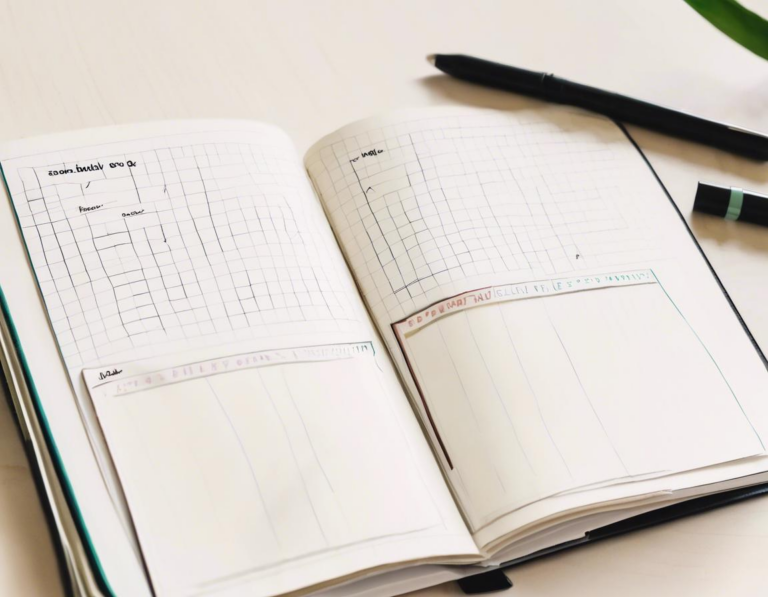
2. Set Up Essential Bullet Journal Pages
Now, let’s set up the core pages that are often found in traditional bullet journals. These pages will form the foundation of your digital planner.
2.1. Future Log
The future log is where you can plan out events, appointments, and important dates months in advance. It’s like a high-level overview of your year.
- Create a new page: In your “Bullet Journal” workspace, click “Add a page” and name it “Future Log.”
- Use a calendar view: Notion offers a variety of views, including a calendar view. This is ideal for visualizing your future events.
- Add events: Click on any date in the calendar view and add your event details. Use the “@” symbol to link to other pages in your workspace, creating seamless connections between your plans.
2.2. Monthly Log
The monthly log allows you to get a detailed overview of your month. This is where you can track daily tasks, appointments, and important milestones.
- Create a new page: Add a new page called “Monthly Log.”
- Use a calendar view: Similar to the future log, use a calendar view for your monthly log.
- Add daily tasks: Use the “@” symbol to link to individual daily pages, which you’ll create in the next section. This creates a clear hierarchy between your month and your daily plans.
2.3. Daily Pages
Daily pages are where you’ll manage your daily tasks, track your progress, and jot down notes.
- Create a new page: Add a new page called “[Date]” (e.g., “August 10th”).
- Use a table view: A table view works great for creating a structured layout for your daily tasks.
- Add columns: You can create columns for:
- Time: Track when you plan to complete tasks.
- Task: Briefly describe the task.
- Priority: Use symbols or color coding to denote urgency.
- Status: Mark tasks as “Completed,” “In progress,” or “Pending.”
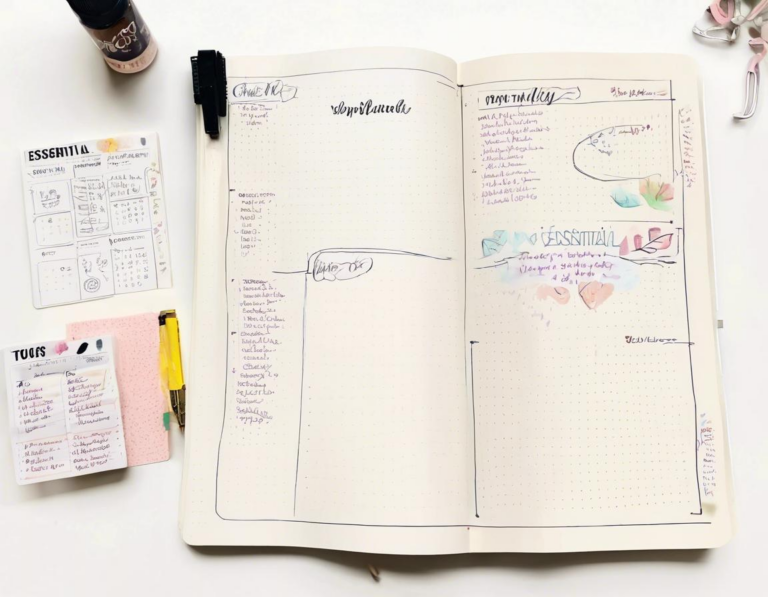
3. Incorporate Habit Trackers and Mood Trackers
![]()
Notion makes it easy to track your habits and moods visually. This can be helpful for identifying patterns, setting goals, and staying motivated.
3.1. Habit Tracker
- Create a new page: Add a new page called “Habit Tracker.”
- Use a table view: A table view works perfectly for habit tracking.
- Add columns:
- Habit: List the habits you want to track.
- Days: Create a column for each day of the week or month.
- Progress: You can use checkboxes, emoji, or a color-coding system to indicate whether you completed a habit on a given day.
- Automate tracking: Notion allows you to create formulas to automatically update the progress based on your actions, making it super efficient.
3.2. Mood Tracker
- Create a new page: Add a new page called “Mood Tracker.”
- Use a table view: A table view works well for tracking moods.
- Add columns:
- Date: Track the date of your mood entry.
- Mood: Use emoji or a drop-down menu with options like “Happy,” “Neutral,” “Sad,” etc.
- Notes: Add optional notes about what contributed to your mood that day.
- Visualize your moods: Notion allows you to create graphs and charts based on your mood tracker data, giving you valuable insights into your emotional well-being.
4. Add Additional Bullet Journal Pages

Beyond the essential pages, you can create a variety of other pages to personalize your Notion bullet journal. Here are some ideas:
4.1. Project Management
- Create a new page: Add a new page called “Projects.”
- Use a table view or kanban board: A table view is useful for listing project details, while a kanban board is perfect for visualizing project stages (e.g., To-Do, In Progress, Done).
- Link tasks: You can link tasks from your daily pages to specific project pages, creating a seamless flow between your daily to-dos and your project goals.
4.2. Brain Dump
- Create a new page: Add a new page called “Brain Dump.”
- Use a simple note view: A note view is ideal for capturing thoughts, ideas, and inspiration as they come to you.
- Tag and organize: Use tags to categorize your thoughts, allowing you to quickly find related ideas later.
4.3. Gratitude Journal
- Create a new page: Add a new page called “Gratitude Journal.”
- Use a table view or list view: Both views work well for listing things you’re grateful for.
- Track gratitude entries: You can add dates and optional notes to your gratitude entries.
5. Customize Your Notion Bullet Journal
Notion offers endless customization options to personalize your bullet journal.
5.1. Templates
- Use pre-made templates: Notion has a vast library of templates, including many specifically designed for bullet journaling. You can start with a ready-made template and then customize it further.
- Create your own templates: Once you have your ideal bullet journal setup, you can save it as a template for future use.
5.2. Databases
- Connect your pages: Databases in Notion allow you to link pages together, creating a unified system for all your bullet journaling elements. You can even create relationships between different databases, such as linking your tasks to specific projects or your mood entries to your daily pages.
5.3. Formulas and Automations
- Create automated tasks: Notion’s formulas and automations can streamline your workflow. For example, you can create a formula that automatically changes the status of a task to “Completed” when you check a checkbox.
6. Tips for Using Your Notion Bullet Journal
Here are a few tips to help you make the most of your Notion bullet journal:
- Be consistent: Try to use your bullet journal regularly, even if it’s just for a few minutes each day.
- Experiment and adapt: Don’t be afraid to experiment with different page designs, templates, and customization options to find what works best for you.
- Back up your data: Regularly back up your Notion workspace to ensure you don’t lose your precious bullet journal entries.
Conclusion: Your Digital Bullet Journal Awaits
Setting up a bullet journal in Notion can transform your organization and productivity. With its flexibility, customization options, and seamless integration of different features, Notion provides the perfect platform for creating a digital bullet journal that empowers you to manage your life effectively.
Ready to start your digital bullet journaling journey? Create your free Notion account and start building your personalized planner today!
Remember, this is just a starting point. Explore Notion’s features and tailor your bullet journal to your specific needs and preferences. You’ll be amazed at what you can achieve with a digital bullet journal in Notion!
Keywords: Notion bullet journal, digital bullet journal, Notion planner, digital planner, habit tracker, mood tracker, project management, brain dump, gratitude journal, customization, templates, databases, formulas, automations