
Integrating Git with Visual Studio Code
Visual Studio Code is a popular and powerful code editor loved by developers for its versatility, extensive extensions, and seamless integration with various tools. Among these tools, Git, a version control system, is an essential part of the modern development workflow. This article will guide you through the process of integrating Git with Visual Studio Code, providing a smooth and efficient way to manage your code changes.
Understanding Git: Version Control Made Easy
Git is a distributed version control system used to track changes in code over time. It allows developers to collaborate on projects, revert to previous versions, and manage code branches efficiently.
Key Benefits of Git:
- Version History: Git maintains a complete history of all code changes, allowing you to trace back to any specific version.
- Collaboration: Git facilitates seamless collaboration among developers, enabling them to work on the same project concurrently.
- Branching and Merging: Git supports branching, allowing developers to experiment with new features without affecting the main codebase, and merging allows combining changes from different branches.
Git Integration with Visual Studio Code: A Powerful Partnership
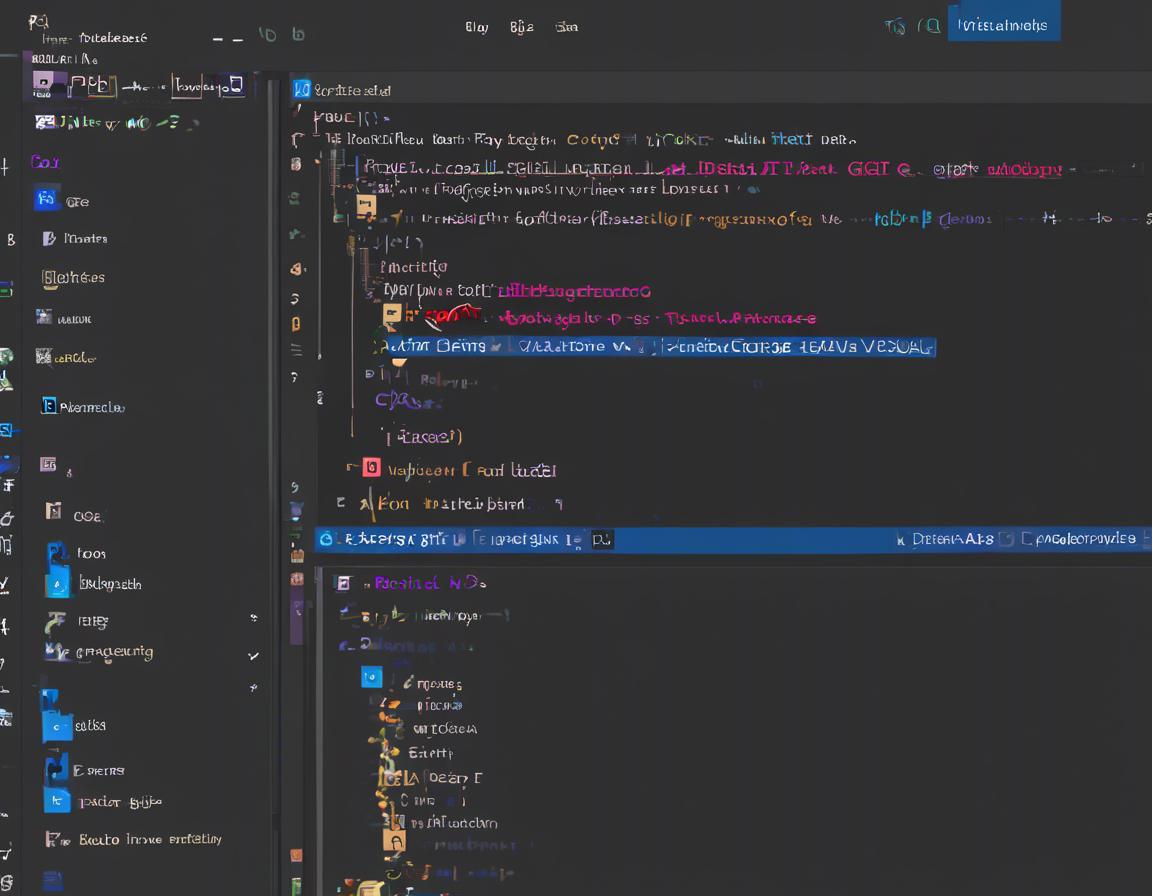
Visual Studio Code offers a built-in Git integration, providing a user-friendly interface to manage your Git repositories. This integration simplifies many common Git tasks, making version control a breeze.
Key Features of Git Integration in VS Code:
- Source Control Panel: A dedicated panel displays the current Git status, including staged and unstaged changes, branches, and commit history.
- Committing Changes: You can easily commit changes to your local repository, add commit messages, and push changes to remote repositories.
- Branching and Merging: Visual Studio Code allows you to create, switch between, and merge branches directly from the editor.
- Pull Requests: Integrate with platforms like GitHub and GitLab to create and manage pull requests for code review.
Setting Up Git: The First Step
Before you can use Git with Visual Studio Code, you need to install Git on your system. This is a simple process, and you can find comprehensive instructions on the official Git website: https://git-scm.com/downloads
Installing Git: A Quick Guide
- Download the Git installer: Visit the Git website and select the installer corresponding to your operating system.
- Run the installer: Follow the on-screen instructions to install Git on your system.
- Configure Git: During installation, you will be prompted to configure your Git username and email address. These details will be associated with your commits.
Initializing a Git Repository: Getting Started
Once Git is installed, you can initialize a Git repository for your project. This process creates a hidden .git folder within your project directory, containing all the necessary Git information.
Initializing a Repository:
- Open your project folder: Navigate to the folder containing your project in Visual Studio Code.
- Open the Source Control Panel: Click on the “Source Control” icon in the sidebar or use the shortcut
Ctrl+Shift+G. - Initialize Repository: Click the “Initialize Repository” button to create a new Git repository for your project.
Using Git with Visual Studio Code: Everyday Workflow
Now that your project is under Git control, let’s explore how to use Visual Studio Code’s Git integration for common tasks.
1. Tracking Changes:
- Unstaged Changes: The “Changes” section in the Source Control panel lists files with modifications that are not yet staged for commit.
- Staging Changes: Use the “+” button or right-click on a file to stage changes. Staged changes are marked with a green checkmark.
- Unstaging Changes: Use the “-” button or right-click on a file to unstage changes.
2. Committing Changes:
- Commit Message: In the “Commit” section, type a brief but descriptive message explaining the changes in your commit.
- Committing: Click the “Commit” button or use the shortcut
Ctrl+Enterto save your changes to the local repository.
3. Viewing Commit History:
- History Panel: Click the “Branches” dropdown in the Source Control panel to access the commit history.
- Commit Details: Select a commit to view its details, including the commit message, author, and modified files.
- Revert Commits: You can revert specific commits to undo changes made in the past.
4. Branching and Merging:
- Creating Branches: Click the “Branches” dropdown, then “New Branch…” to create a new branch.
- Switching Branches: Select a branch from the dropdown to switch between branches.
- Merging Branches: Click the “Merge” button on the branch you want to merge into the current branch.
5. Pushing Changes:
- Remote Repository: Ensure your project is linked to a remote Git repository (e.g., GitHub, GitLab, Bitbucket).
- Pushing Changes: Click the “Push” button or use the shortcut
Ctrl+Shift+Pand search for “Push” to push your local changes to the remote repository.
Advanced Git Concepts: Branching Strategies
Git’s branching capabilities provide powerful tools for managing complex projects and collaborating efficiently. Understanding common branching strategies is essential for maximizing Git’s benefits.
1. Git Flow Workflow:
- Main Branch: A stable branch that represents the production-ready code.
- Development Branch: A branch for active development, where features are implemented and tested.
- Feature Branches: Short-lived branches created for specific features, merged back into the Development branch upon completion.
- Release Branches: Branches created from Development to prepare for a specific release, allowing for bug fixes without affecting the Development branch.
- Hotfix Branches: Branches created from Main to address critical production issues, later merged back into both Main and Development.
2. GitLab Flow Workflow:
- Master Branch: The production-ready codebase.
- Develop Branch: The primary development branch.
- Feature Branches: Branches created from Develop for implementing features.
- Release Branches: Branches created from Develop for preparing a release, allowing for minor bug fixes.
Visual Studio Code Git Extensions: Expanding Functionality
While Visual Studio Code’s built-in Git integration is comprehensive, you can further enhance your workflow by utilizing extensions.
Popular Git Extensions:
- GitLens: Adds advanced Git features like blame annotations, code history visualization, and commit search.
- Git Graph: Provides a graphical representation of your Git history, making it easier to understand complex branches and merges.
- Git History: Visualizes the history of your Git repository, allowing you to browse commits and navigate through branches easily.
Conclusion: Mastering Git Integration in Visual Studio Code
Integrating Git with Visual Studio Code streamlines your development workflow, providing a comprehensive platform for managing your code changes, collaborating with others, and maintaining a clear version history. By understanding the fundamentals of Git and utilizing the powerful features of Visual Studio Code’s Git integration, you can significantly enhance your productivity and efficiency as a developer. Remember to explore advanced concepts like branching strategies and leverage extensions to further customize your Git experience in Visual Studio Code.